Remove Page Breaks in Word Manually
When you need to create a seamless reading experience or enhance your document's visual appeal, removing unwanted page breaks is essential. Manual deletion offers the precision you need to control breaks without affecting the necessary structure.
Here’s how to remove page breaks in Word manually:
Step 1: Open the Word document you want to remove page breaks from;
Step 2: Click the Show/Hide ¶ button on the Home tab to display non-printing characters, including page breaks (represented as dotted lines with the label "Page Break");
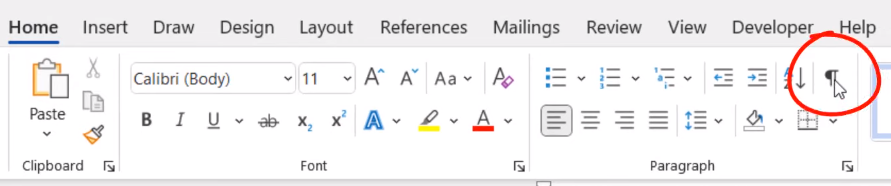
Step 3: Position your cursor before the page break you want to remove, and double-click it to select. Press the "Delete" key to remove it.

Repeat the steps above to get rid of more page breaks in Word.
Remove Page Breaks in Word Automatically
For a fast and efficient approach to deleting page breaks in Word, the Find and Replace feature is your go-to. It allows you to batch-remove unwanted breaks throughout your document with a few simple clicks, saving you time and effort compared to manual deletion. Let me show you how to remove page breaks in Word this way.
Step 1: Press Ctrl + H to open the Find and Replace box, then select the Replace tab;
Step 2: Click on the Find what text box and click the More button to open all the other options.
Step 3: Hit Special and choose Manual Page Break on that menu;
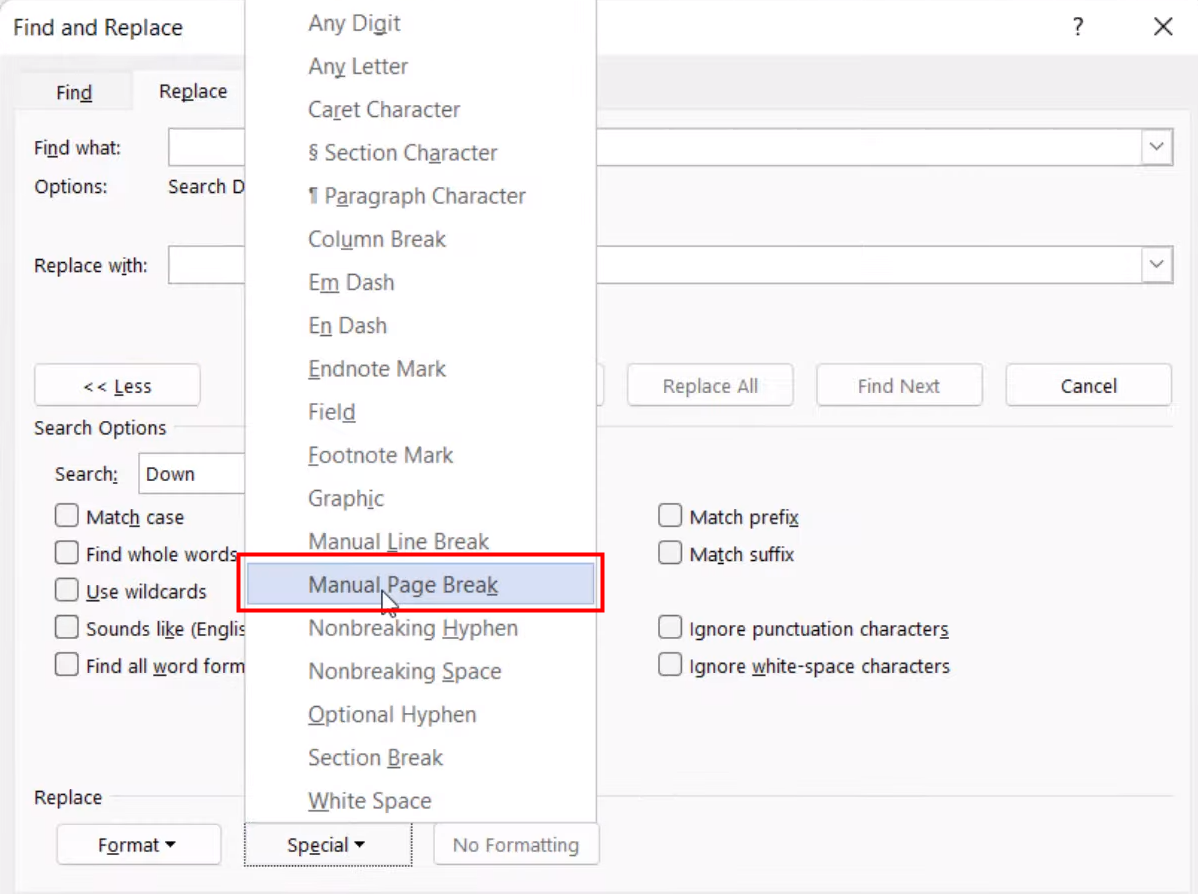
Step 4: Leave the Replace box blank and click Replace All to delete all page breaks in Word in one go with a space.
Save Word as PDF after Removing Page Breaks
After you remove page breaks in Word, the final step to securing your pristine layout is saving the Word document as a PDF. This crucial step ensures your formatting and flow stay locked in, preventing any unwanted issues when shared or viewed on different devices.
It will also offer additional advantages like smaller file size, improved compatibility, enhanced security features, and more.
Converting your Word document to PDF is straightforward. You have two main options:
- Built-in Save As: Click "File" > "Save As" and choose "PDF" format. Adjust settings like document title and file location, then click "Save."
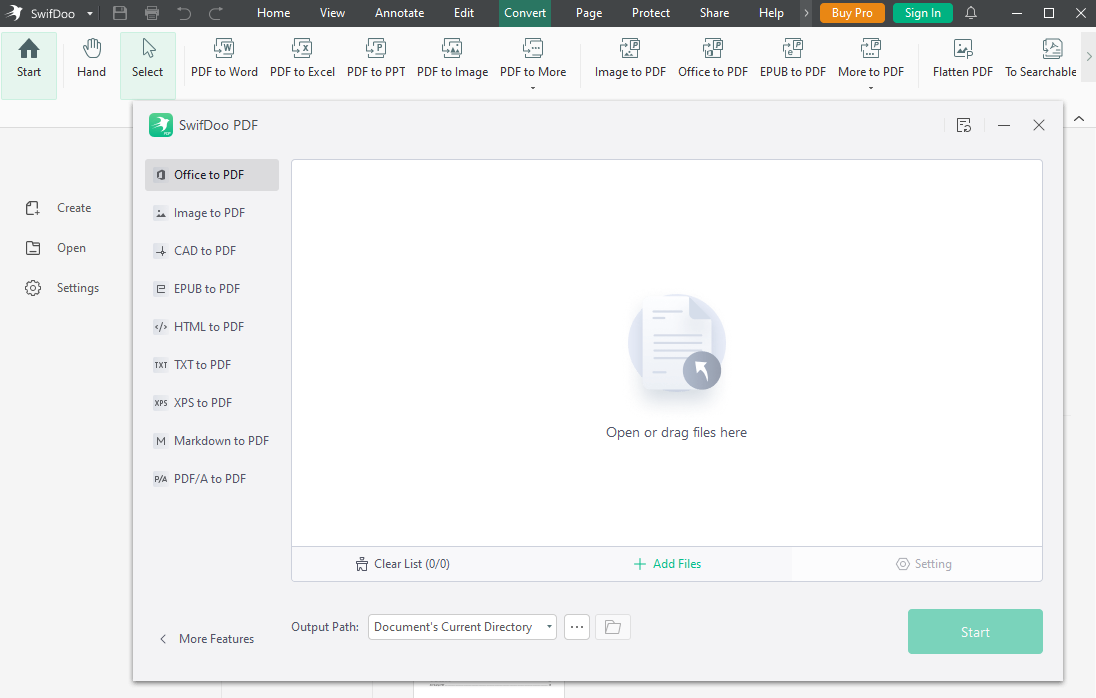
- PDF Editor: Use a dedicated PDF editor like SwifDoo PDF for additional control over formatting, compression, and security settings.
What Is a Page Break
After learning how to remove page breaks in Word efficiently, it's necessary to know what a page break is.
A page break is a unique marker in a document that tells the program where to end one page and start the next. It's like a little invisible line that forces the text, images, and other content to move to a new page, keeping your document organized and visually appealing.
There are two types of page breaks:
- Manual page breaks: Inserted by the user, usually by going to the Insert tab in a word processing program and clicking the "Page Break" button.
- Automatic page breaks: They are inserted by the program automatically when the text reaches the bottom of the page.
The method mentioned above to remove page breaks in Word is removing manual page breaks.
You can insert page breaks in a document for several purposes:
- Structuring content: Start new chapters, sections, or topics on fresh pages to guide readers effectively.
- Preventing awkward overflow: Keep headings, titles, and images from splitting across pages for a cleaner presentation.
- Refining layout: Create columns, balance text distribution, and achieve a professional appearance.
Final Words
Congratulations! You've now mastered how to remove page breaks in Word, which will contribute to improving the layout of your Word documents. Remember, eliminating page breaks is just one tool in your formatting toolbox. Use it wisely alongside other options like margins, line spacing, and text wrapping to craft documents that are both visually appealing and functionally effective.