
Wrap Text in Excel Automatically
There are three main ways to automate text wrapping in Excel, each offering a convenient and quick approach:
Using the Wrap Text Button
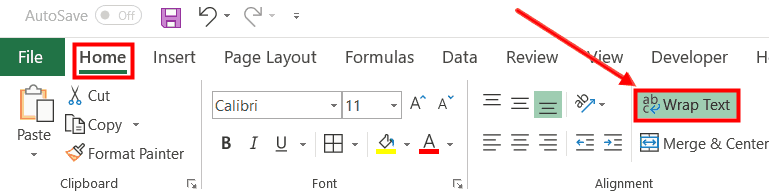
The Wrap Text button is the most straightforward method to wrap text in Excel. Select the cell(s) containing the overflowing text, navigate to the Home tab, and click Wrap Text in the Alignment group. Then, your text will neatly adjust to fit within the cell.
Using Keyboard Shortcut
For those who prefer a swifter approach, the you can use the keyboard shortcut Alt + H + W to wrap text in Excel. Highlight the desired cells and unleash this key combo to witness the transformation.
For Mac users, press Command+1, then select the Alignment tab and check the Wrap text box.
Using the Format Cells Dialogue Box
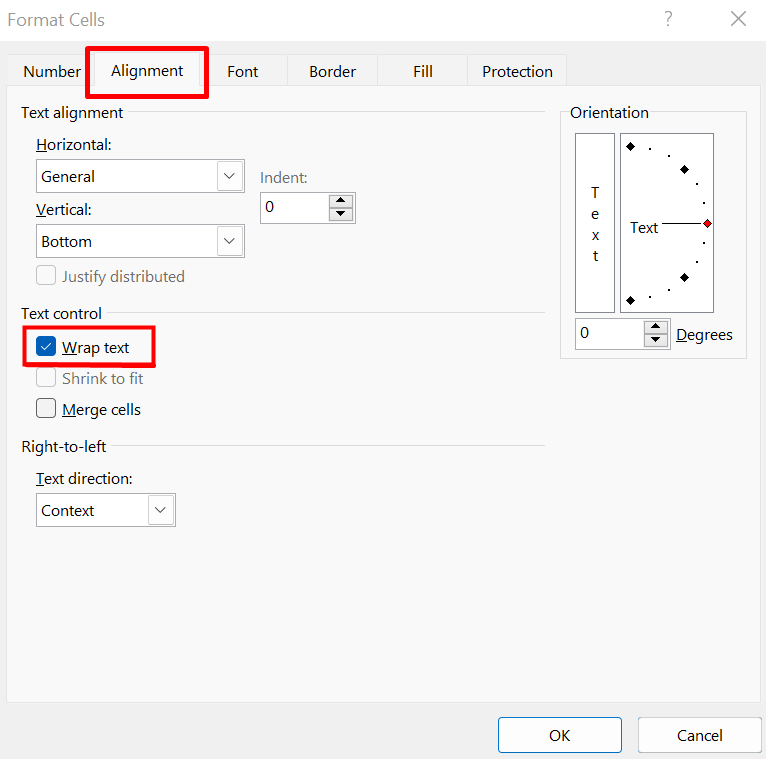
This method of wrapping text in Excel cells offers more control over the f. Select the cell(s), right-click, and choose Format Cells. In the dialogue box, navigate to the Alignment tab and tick the Wrap Text checkbox. You can also adjust other alignment settings like horizontal and vertical alignment here.
Wrap Text in Excel Manually
Sometimes, the automatic method to make text wrap in Excel might not achieve the desired effect. For those situations, Excel provides manual tools to fine-tune your text presentation:
By adding line breaks
This method to wrap text in Excel allows you to control exactly where the text breaks. Place your cursor in the cell where you want the line to break, hold down Alt, and press Enter. That will insert a line break, allowing the text to flow onto the following line within the same cell
By adjusting the column width
If the text overflows because the column is too narrow, you can adjust the column width to accommodate it as an alternative way to wrap text in Excel. Hover your cursor over the right border of the column header until it turns into a double-sided arrow, then drag it outwards to widen the column. The text will automatically adjust to fit the new space.
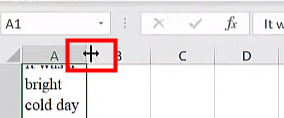
To make text fit in an Excel cell quickly and precisely, double-click the right border of the column header when it's displaying the double-sided arrow. That will instantly resize the column to perfectly accommodate the length of the text within its cells.
Save Excel as PDF after Editing
After you wrap text in Excel, it’s suggested to convert the file to PDF to ensure the formatting remains intact when sharing or saving the file. Excel allows you to keep your document as a PDF directly. Click File > Save As, choose PDF from the Save as type dropdown, and click Save.
If you anticipate the need for future edits or modifications to the document's content, consider using a PDF editor to convert the Excel file to PDF. This approach maintains formatting while allowing you to make changes directly within the PDF environment. SwifDoo PDF is worth considering in this case.
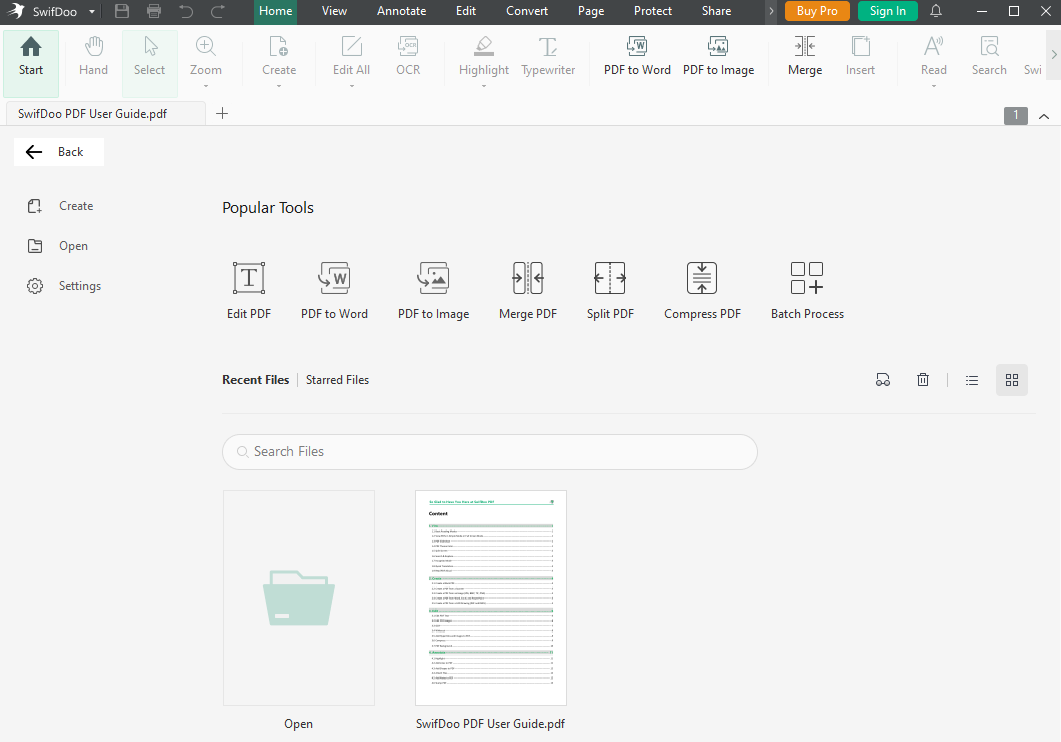
Here's the method: Save and close your file after you wrap the text in Excel. Launch SwifDoo PDF, go to the Convert tab, click Office to PDF, import your file, and hit Start to initiate the conversion process.
In this program, you can edit the PDF as easily as editing a Word document.
Final Words
Wrapping text in Excel is a fundamental skill that enhances both the readability and visual appeal of your spreadsheets. By mastering the automatic and manual methods, you can confidently tackle any text overflow and transform your spreadsheets into clear, organized, and professional documents.